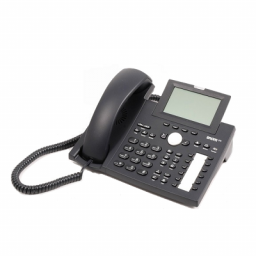
Snom Meeting Point – Manual Configuration
Snom 3xx – Manual Configuration
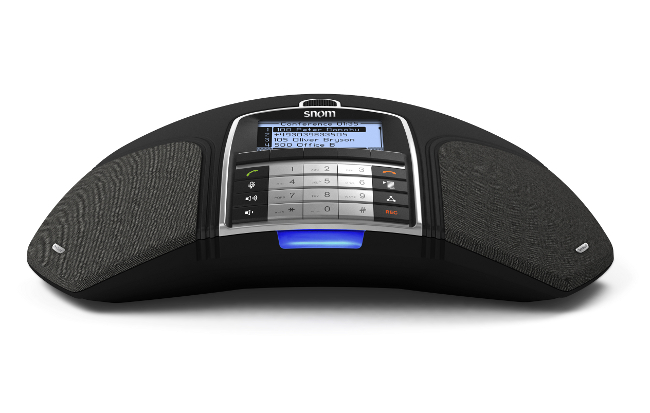
Follow this guide if you have a Snom MeetingPoint IP Phone.
- Extension Number or User ID
- Password
- SIP Server address
Initial Settings
The following settings are performed on the SNOM Meetingpoint and only need to be done if the meetingpoint has been factory reset or this is a new device.
Language
- Use the arrow keys to select the language,
- Once the language is selected push the green talk button to select
Timezone
- Push the More button just below the screen
- Use the arrow keys to find your timezone in the list
- Push the green talk button to select the timezone
Dialtone
- Use the arrow keys to select the Australia
- Push the green talk button to select
Obtain IP Address
In order to do the next part of the configuration you need to obtain the IP addresss, follow these steps to do so:
- Push the key marked Menu
- Use the arrow keys to navigate to Maintenance and push the green talk key
- Use the arrow keys to navigate to System Info and push the green talk key
- Note the field labeled IP Adr: and use the value in the next step
Browsing to administration panel
Now that you know your IP Adr value open your web browser and enter http://IP Adr and push enter.
For instance if your IP Adr was 192.168.0.10 enter http://192.168.0.10.
If you have been successful you should see a login screen. The default username is admin and the default password is admin
Identity (1)
The settings below are all configured under one of the Identity links on the left.
The next step is to configure the identity you want you account to use, in most cases this will be Identity 1.
Select Identity 1 from the list.
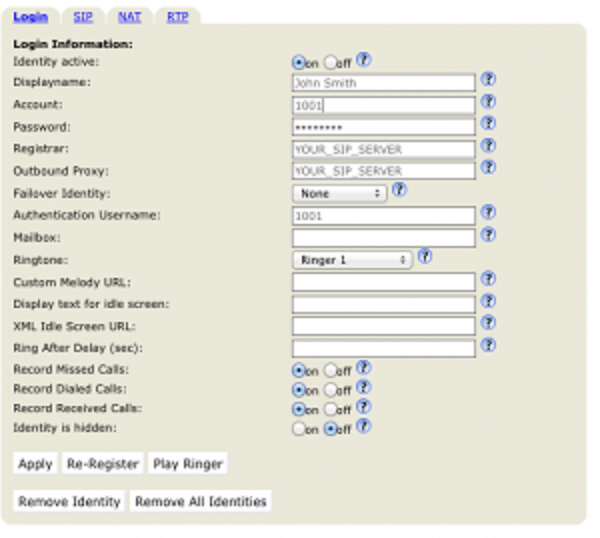
On the Login tab set the following:
- Display Name – Your name e.g. Meeting Room 1
- Account – The extension number you wish to use e.g. 1001
- Password – The password for the extension
- Registrar – Your SIP Server address
- Outbound Proxy – Same as Registrar your SIP Server address
- Authentication Username – Same as account the Extension number you wish to use
- Click Save
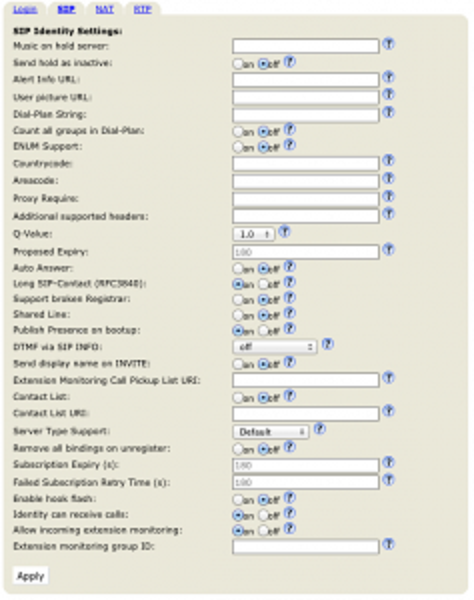
Next click the SIP tab and set the following:
- Proposed Expiry – 180
- Subscription Expiry (s) – 180
- Click Save
Next click the NAT tab and set the following:
- Keepalive interval (seconds) – 30

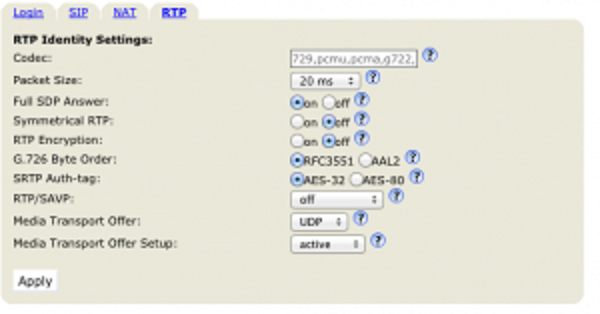
Next click the RTP tab and set the following:
- Codec 1: G.729A
- Codec 2: G711a
- Codec 3: G.711u
- Codec 4: G722
- Packet Size: 20 mx
- RTP Encryption – Off
- Click Save
Click Advanced from the left
Select the Audio tab and set
- Casing Mic Volume (1 – 8): 3
- Equalizer: Bright
Setting Passwords
Click Advanced then click QoS/Security
- Set Administrator Password: Set the password to something secure
- Set Administrator Password (Confirmation): Confirm the password you entered above
HTTP Server
- Set User to admin or something else suitable
- Set Password to a secure administrators password. You will need this to login and change configuration later
- Click Save to apply the changes
Now that the settings are complete there will be a button that has appears saying “Apply setting changes?”
Reboot push the Reboot button and click Yes to confirm the reboot.
Assign Function Key
After your account is registered you need to assign a key for the account, If you wish you can assign multiple line keys to one account which can make it easier when you wish to put someone on hold and make another call.
Click Function keys from the menu on the left, select the button you want to assign to the first function key, in this case P1
- Click the First dropdown and select your account
- Click the second dropdown and select Line
Your button should now look similar to this:
Now click Save and you should be able to to receive an make calls.


