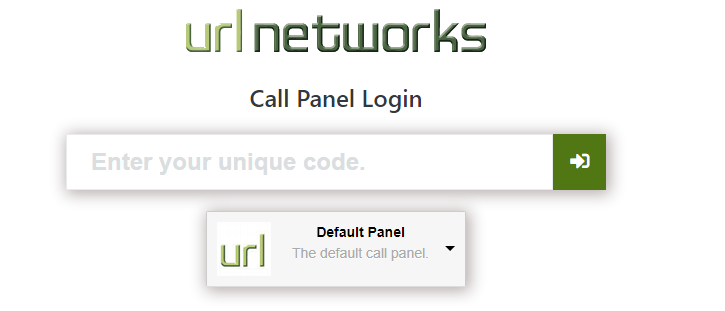
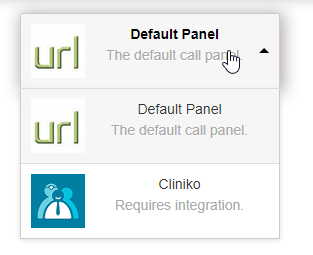
0 By Liam Cloud Hosted PBX Help Articles Support VoIP Services 29 June 2023 Install URL Networks Call Panel Install URL Networks Call Panel To install the URL Networks Call Panel software, please follow this guide. Installing the Software Windows Client: https://url-downloads.s3.ap-southeast-2.amazonaws.com/urlcallpanel_install.exeInstall the program, following any prompts.The Program will be installed to your Start Menu under “URL Networks Call Panel”.Launch the program if it hasn’t already, you will be prompted for your Agent Code. Getting your Agent Code Log in to the URL Networks Dashboard and navigate to your PBX Service.Choose Extensions from the left-hand menu. In the page that appears, click the yellow “Edit” icon next to your extension. On the “Advanced” tab, set “Enable Call Panel” to “On/Yes”.Click “Save”.Navigate back to your extension page again, you will notice a “Call Panel” tab.Your agent code will be presented to you. Click the text box to copy it to your clipboard, and paste that into the Call Panel Window. Choosing a Panel Type Depending on your use-case, you can choose a different panel. This will change where caller information comes from.If you have a Cliniko integration, please select the “Cliniko” option in the dropdown menu. Then click the Green Arrow to Sign-In. Call Panel Liam / About Author More posts by Liam