Grandstream ATA Setup Guide
📞How to Set Up Your Grandstream HTXXX ATA (Home Phone Adapter)
Welcome! If you’ve received your Grandstream ATA from us and are ready to connect your home phone, this quick guide will walk you through the process. It only takes a few minutes, and we’ve also included a video demonstration to help you out.
Watch the Setup Video
- In this video, we demonstrate each step of the setup so you can follow along visually.
🛠️ Step-by-Step Instructions
Follow these simple steps to get your ATA connected:
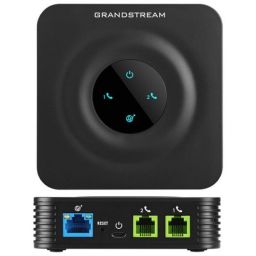
1. Power On the ATA
Plug the included power adapter into the back of the ATA.
Connect it to a power outlet.
Wait about 1–2 minutes for it to boot up (you’ll see the LED lights come on).
2. Connect Your Telephone
Plug your home phone’s cable into the green “TEL1” port on the ATA.
3. Connect to Your Internet
Use an Ethernet (network) cable to connect the blue “Internet” port on the ATA to a LAN port on your router.
✅ Tip: Make sure you plug into a LAN port on the router — not the WAN/Internet port.
✅ You’re All Set!
Once everything is connected:
The LED lights on the ATA should stabilize.
You should hear a dial tone when you lift your phone’s handset.
If you don’t hear a dial tone within a few minutes, try restarting the ATA by unplugging and plugging the power cable back in.
🆘 Need Help?
If you’re still having trouble after following the steps and video:
Double-check that all cables are firmly plugged in.
Make sure your internet is working.
Contact our support team — we’re happy to help!