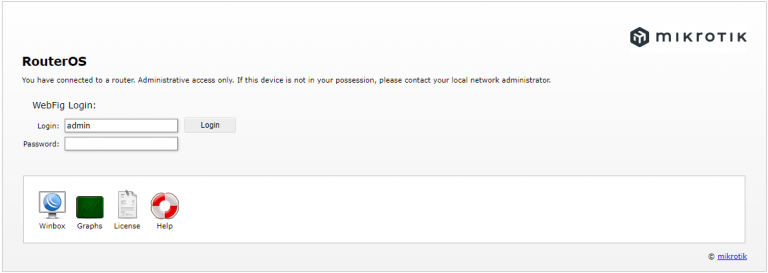
Navigate to the Router Admin page at 192.168.88.1 (Depending on your LAN Setup)
Login with the provided username and password.
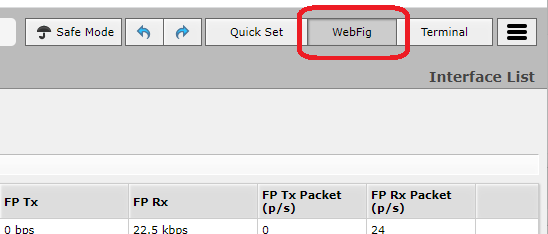
Click “Webfig” in the top-right hand corner.
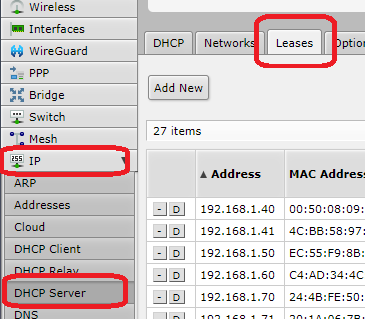
Navigate to IP > DHCP Server and select the Leases tab.
Find the MAC Address in the leases column you wish to convert to a static lease.
Click on the entry, then click “Make Static” in the top of the page, then click close.
Notes
Repeat for each MAC Address you wish to make static.
You can change the assigned IP for each static lease by clicking the entry and modifying the IP Address, then clicking Apply.
You can add a static IP address for a device with no lease by navigating to IP > DHCP Server > Leases and clicking the “New” button and inputting the MAC Address (00:11:22:33:44:55) and the IP address (EG: 192.168.88.222) then clicking Apply to save your changes.