Yealink T54W – Connecting the cables
Yealink T54W - Connecting the cables
This article will show you how to connect the cables to a Yealink T54W phone.
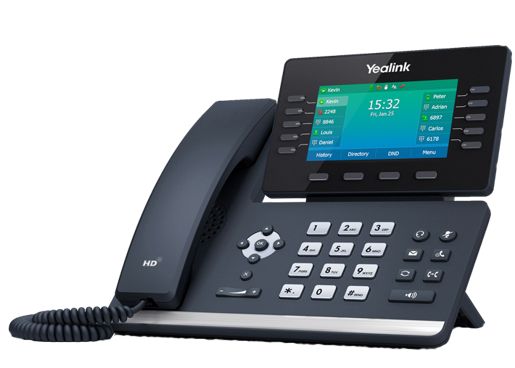
Sockets on the device
The rear of the Yealink T54W contains the following sockets:

- PC – Used to daisy-chain a PC off the phone.
- Internet – Used to connect the phone to the internet via cable.
- DC5V – Used for the Power Pack cable.
- Headset – Used to connect a wired headset.
- Handset – Used to connect the curly cable to the handset.
Powering the device
The Yealink T54W can be powered by a Power Pack or by Power-Over-Ethernet (PoE).
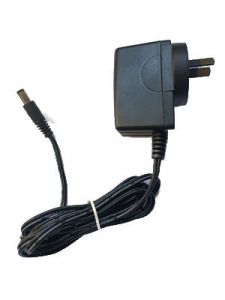
- If using a Power Pack, connect this to socket #3 marked DC5V
- If using Power-over-Ethernet (PoE) skip this step.

Connecting the device to the network
- Connect the network cable to socket #2 marked “Internet”. If the network is also supplying Power-over-Ethernet, then this cable will provide both internet and power.
- If you want to daisy-chain a PC off the phone, connect a network cable from the PC to socket #1 marked PC.

Connecting the handset to the device
- Connect the curly cable to socket #5 marked with a telephone handset.


