Yealink T54W – Entering Auto Provisioning details
Yealink T54W - Entering Auto Provisioning details
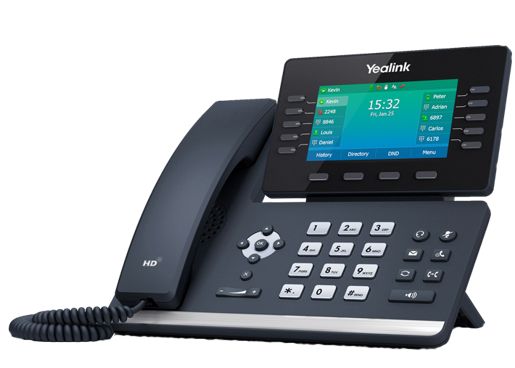
This article will show you how to enter the auto-provisioning details on the Yealink T54W phone.
How to check IP settings
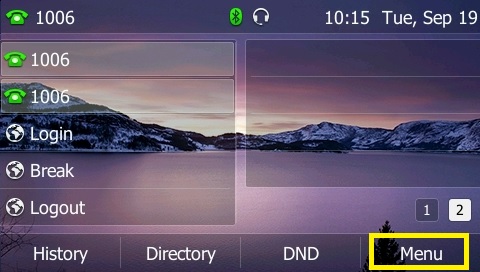
- Press the Menu soft key just below the screen.
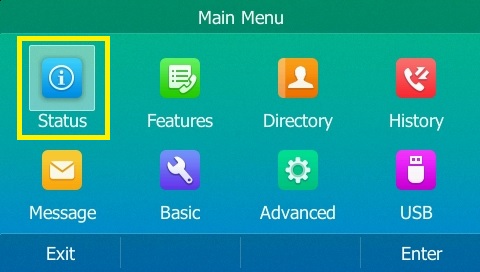
- Use the arrow keys to navigate to Status.
- Press the Enter soft key just below the screen.
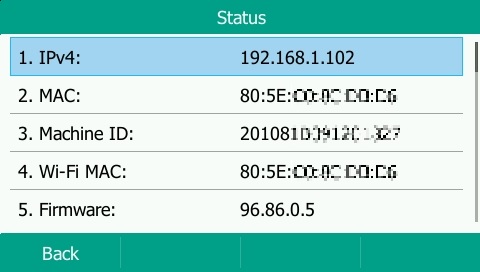
- The IP address of the phone is shown next to IPv4.
Entering the Auto Provisioning details
- Using your preferred internet browser, browse to the local IP address of the phone. (eg: 192.168.1.102)
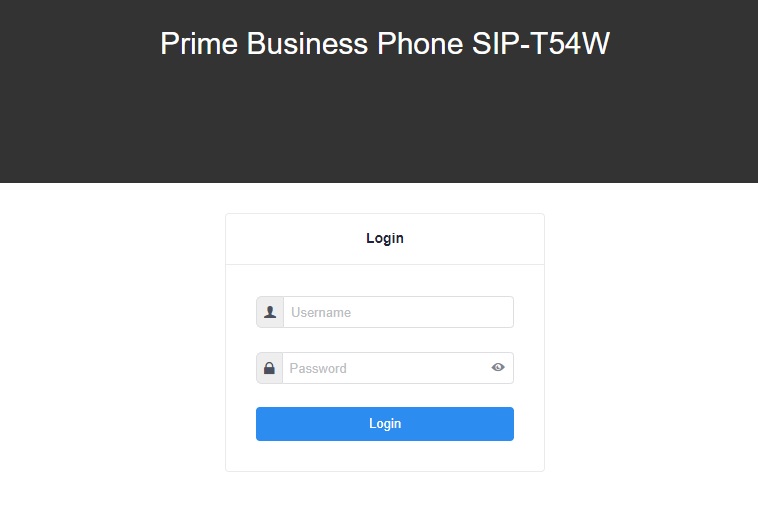
- Log in to the web page. (The default login is admin with the default password is admin)
- In the menu on the left, select Settings and then select Auto Provision.
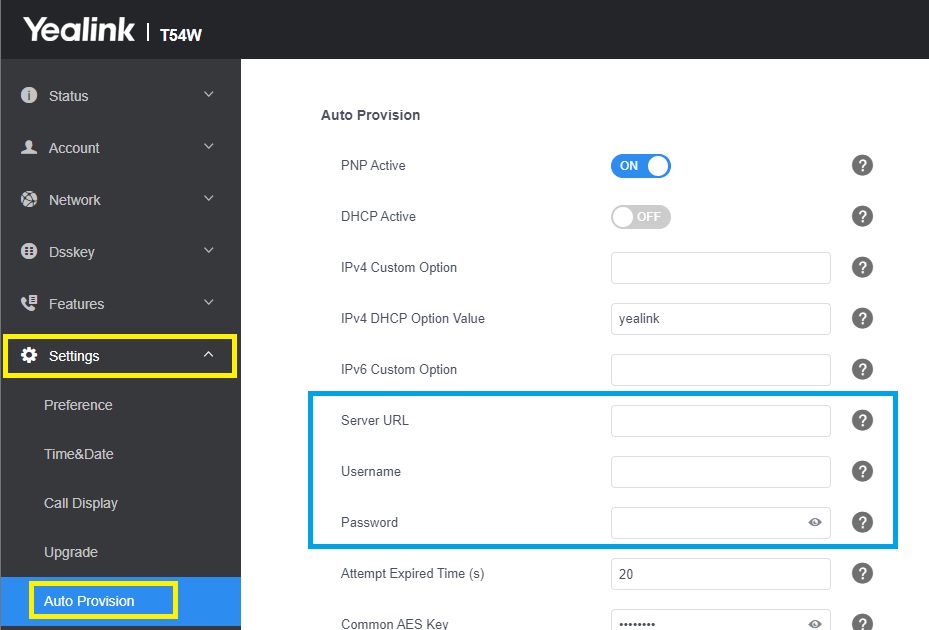
- Enter the following details:
- Server URL – https://dashboard.url.net.au/provision
- Username – Your Service ID.
- Password – Your provisioning password.
NOTE: This information can be found on your URL Dashboard Devices page, by clicking the Provisioning Details button at the top.

- Click the Confirm button at the bottom of the page to save the auto provisioning changes.
Turning off Trusted Certificates
- In the menu on the left, select Security and then select Trusted Certificates.
- Set “Only Accept Trusted Certificates” to OFF.
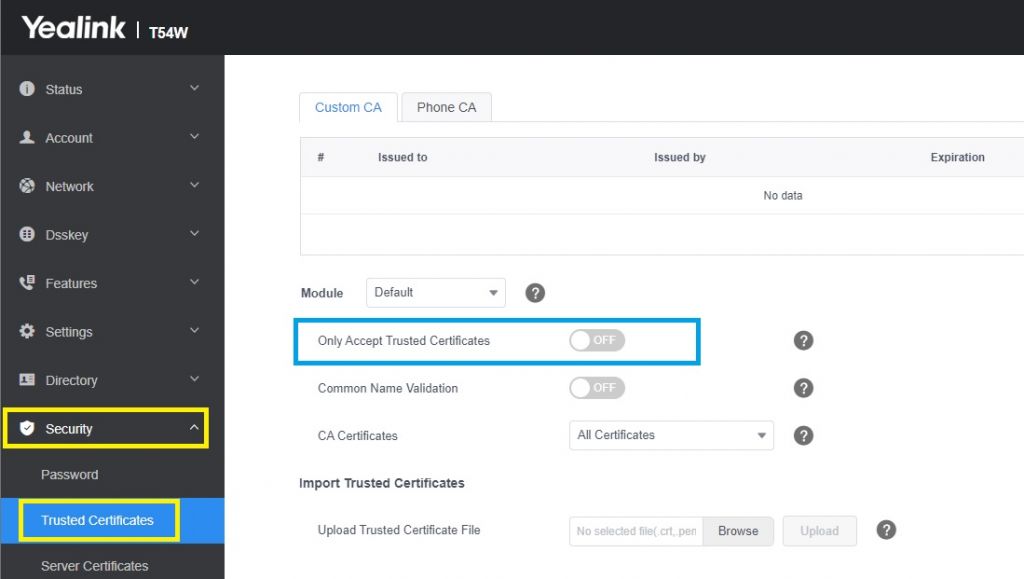
- Click the Confirm button at the bottom of the page to save the changes.
- The phone will now reboot and reach out to the auto provisioning server for it’s account details.


