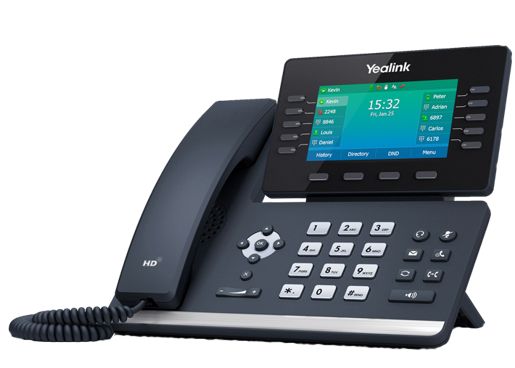
This article will show you how to connect the cables to a Yealink T54W phone.
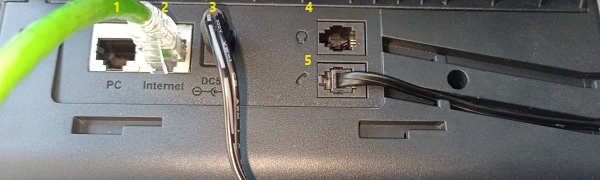
Sockets on the device
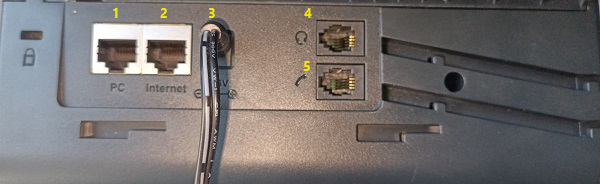
The rear of the Yealink T54W contains the following sockets:
Rear of Yealink T54W
PC – Used to daisy-chain a PC off the phone.
Internet – Used to connect the phone to the internet via cable.
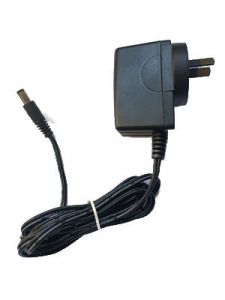
DC5V – Used for the Power Pack cable.
Headset – Used to connect a wired headset.
Handset – Used to connect the curly cable to the handset.
Powering the device
The Yealink T54W can be powered by a Power Pack or by Power-Over-Ethernet (PoE).
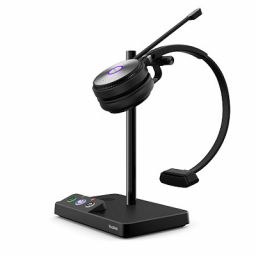
Yealink Power Pack
If using a Power Pack, connect this to socket #3 marked DC5V
If using Power-over-Ethernet (PoE) skip this step.
Connecting the device to the network
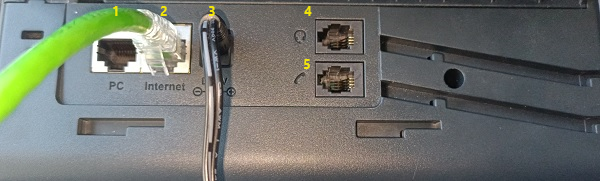
Connect the network cable to socket #2 marked “Internet”. If the network is also supplying Power-over-Ethernet, then this cable will provide both internet and power.
If you want to daisy-chain a PC off the phone, connect a network cable from the PC to socket #1 marked PC.
Connecting the handset to the device
Connect the curly cable to socket #5 marked with a telephone handset.
Enable/Disable Call Waiting Tones on Yealink Phones Press the “Menu” button on the phone Choose the “Features” option Select “Call Waiting” Choose option “2. Call…
Yealink W52 – Firmware Upgrade Base Firmware Download the base firmware and extract the zip file – http://support.yealink.com/attachmentDownload/download?path=upload%2Fattachment%2F2015-7-4%2F6%2F5cadf3c1-5e00-4c37-9a04-aaa6693b933e%2F25.73.0.40.zip Browse to the…
Yealink T5x – Change Background Image Instructions for changing your phone’s and/or expansion modules background image/wallpaper. Only available on Yealink T5x…