Yealink Auto Provisioning Guide
Yealink Auto Provisioning Guide
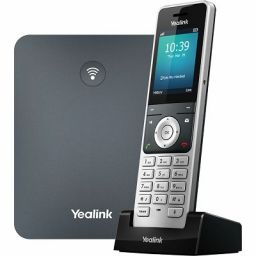
If you have a Yealink handset using version 70 or later firmware and would like to configure it for use with your PBX service then this guide will help you configure both the phone and the settings via the PBX control panel.
PBX Configuration
- Login to the control panel by browsing to https://dashboard.url.net.au
- Once logged in select My Services then click the Wrench icon next to you PBX or VoIP service
- If using a PBX service click Extensions, then Device Management tab. If using a VoIP service click Auto Provisioning
- Click the button Add Device
- Select the Manufacturer as Yealink
- Enter the following details:
- Model – The model of your phone e.g. T20 or T22
- MAC Address – This is printed on the back of the phone and will say MAC or MAC Address
- Click Add
- Another screen will now popup, select the Accounts Tab
- Check the Active box for the account you want to use and select the extension this phone should be mapped to
- Click Line Keys and set the following:
- Set at least one KEY to be Line
- Set the Line # to be Line 1 or if you set this account up on a different number set it to Line 2, 3 etc.
- Click Save and follow the Yealink Settings section next.
Yealink Phone
- You will need to get the IP address of your phone to do this push the Menu button on the phone, then push enter on Status. Next you should see a row called IP: note the numbers down e.g. 192.168.88.100
- Using your internet web browser enter the IP Address the address bar and push the enter or return key on the keyboard. Example: http://192.168.88.100
- Once you push enter you will be prompted for a username and password. The default is admin for the username and admin for the password.
- Once you have logged in click the Settings button from the menu bar
- Now click the link in the left labelled Auto Provision
- On the Auto Provision page enter the following:
- Server URL: https://dashboard.url.net.au/provision/
- User Name: Your service ID, this can be found on your Device Management page EG: 1234
- Password: Your provisioning password, this can be found on your Device Management page or provided to you by support.
- Click confirm to save the changes
- Once the page has reloaded click the Security link
- Now set Only Accept Trusted Certificates to disabled
- Click confirm to save the changes
- The phone will now reboot and update the configuration, if it doesn’t reboot by itself after 30 seconds please disconnect the power and plug it back in to reboot the phone


